|
How do I set up the Systeme sales tracking integration?
The Systeme sales tracking integration allows ClickMagick to track all of your Systeme sales, upsells and refunds without the need for traditional sales tracking code on your webpages.
If you’re following the step-by-step “getting started” guide you should have already set up your click tracking, but if not, please make sure you do that first. You can’t track sales without first tracking your visitors’ clicks.
Caution: This integration replaces, and is incompatible with, any existing sales tracking code you have added to your webpages or store.
If you’re currently tracking sales with the standard sales tracking code, be sure to remove it before setting up this integration or your sales won’t track properly.
If you’re currently tracking sales with the standard sales tracking code, be sure to remove it before setting up this integration or your sales won’t track properly.
Step 1 – Create your workflow automation
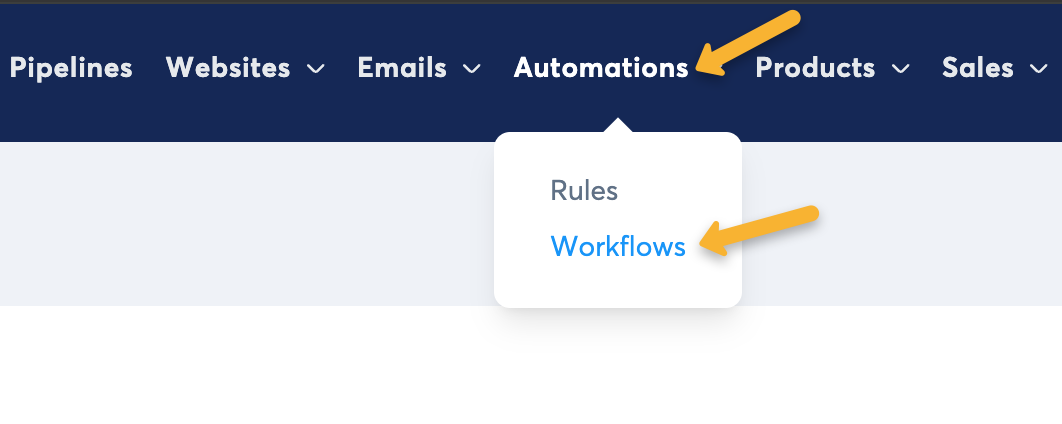
In systeme, go to “Automations”, then “Workflows”.
Click on the “Create” button in the top right hand corner and give it a name. Something like “ClickMagick” will do.

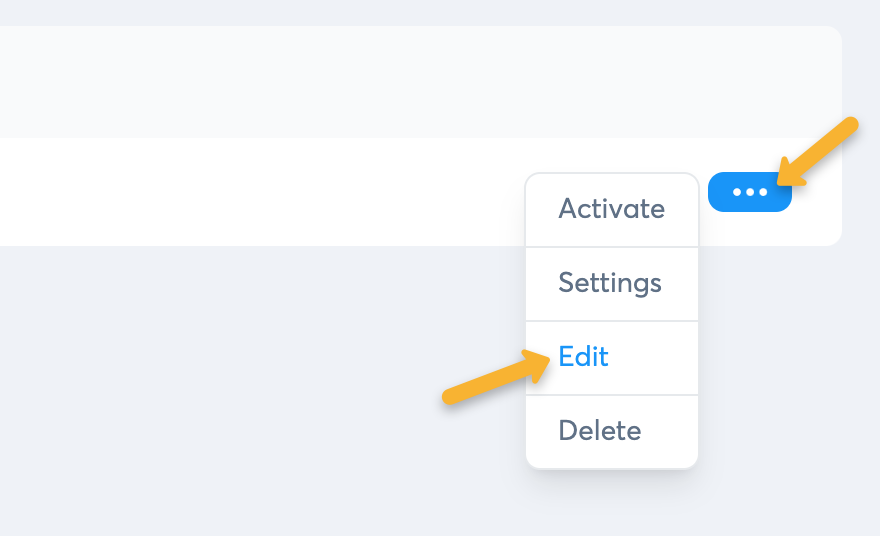
Click on the three dots next to your new workflow, then “Edit”.
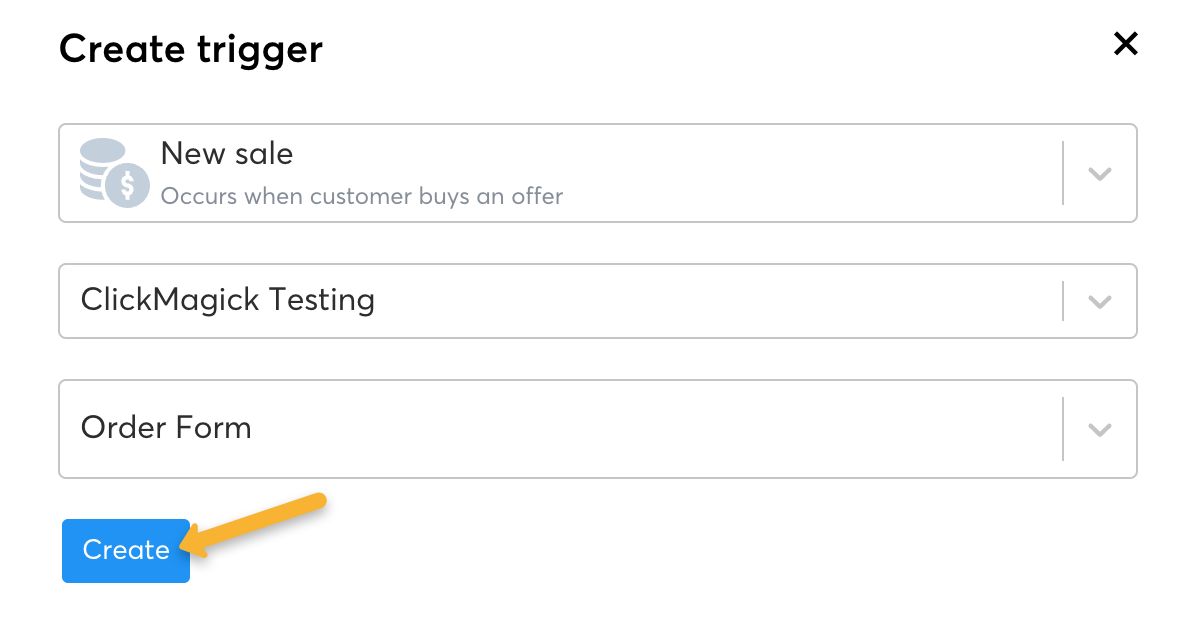
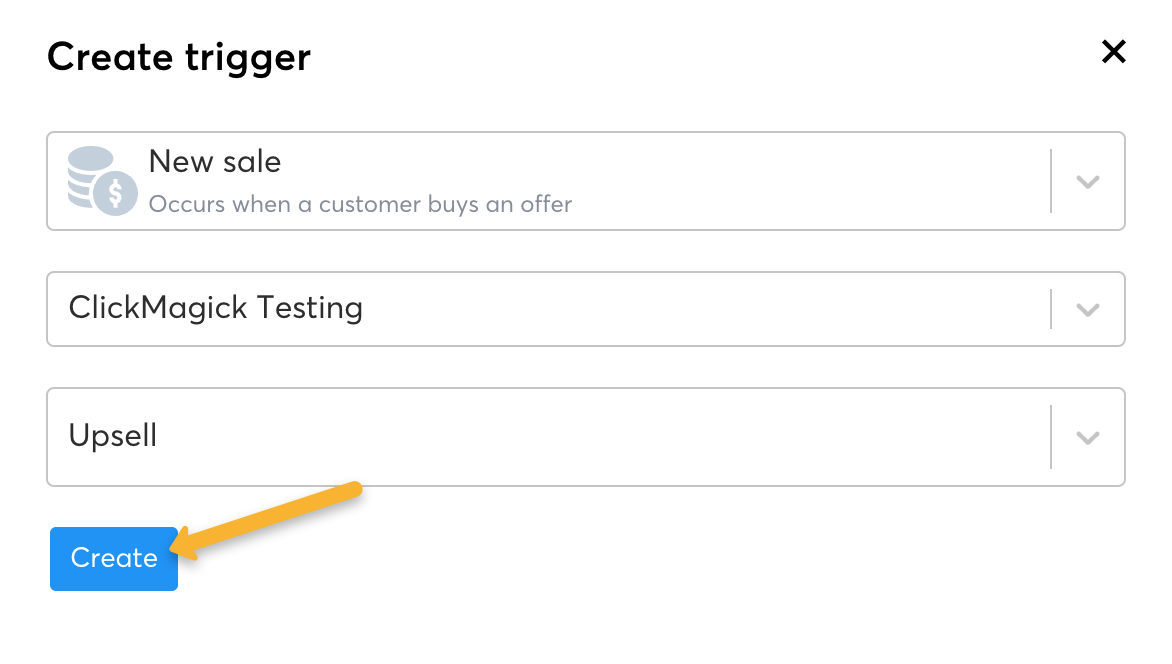
Click “Create your first trigger”, then select “New Sale” as the trigger. Next, select the funnel and order form you want to track and click “Create”.
Click the “+” icon on the right side of your “New sale was made” trigger.
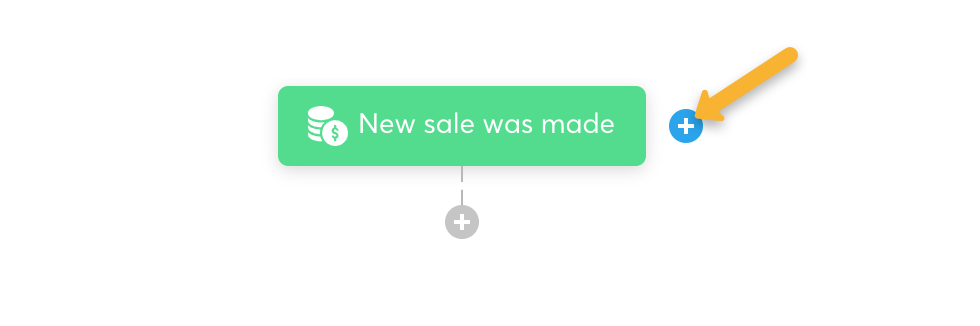
Select the “New Sale” trigger. This time, select the funnel and upsell you want to track and click “Create”.
If you don’t have any upsells or downsells, you can skip this step.
Note: You will need to add a trigger for each upsell and downsell you want to track. Each upsell or downsell will have it’s own trigger.
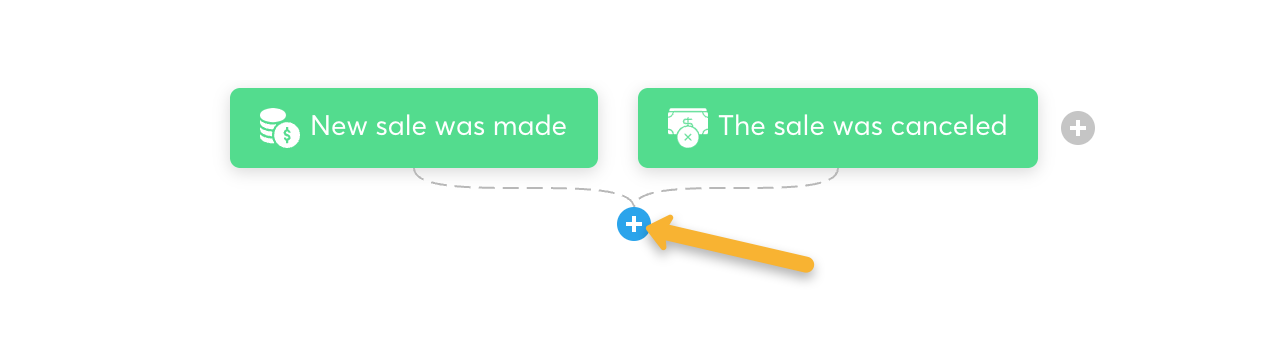
Click the “+” icon on the right side of your “New sale was made” triggers.

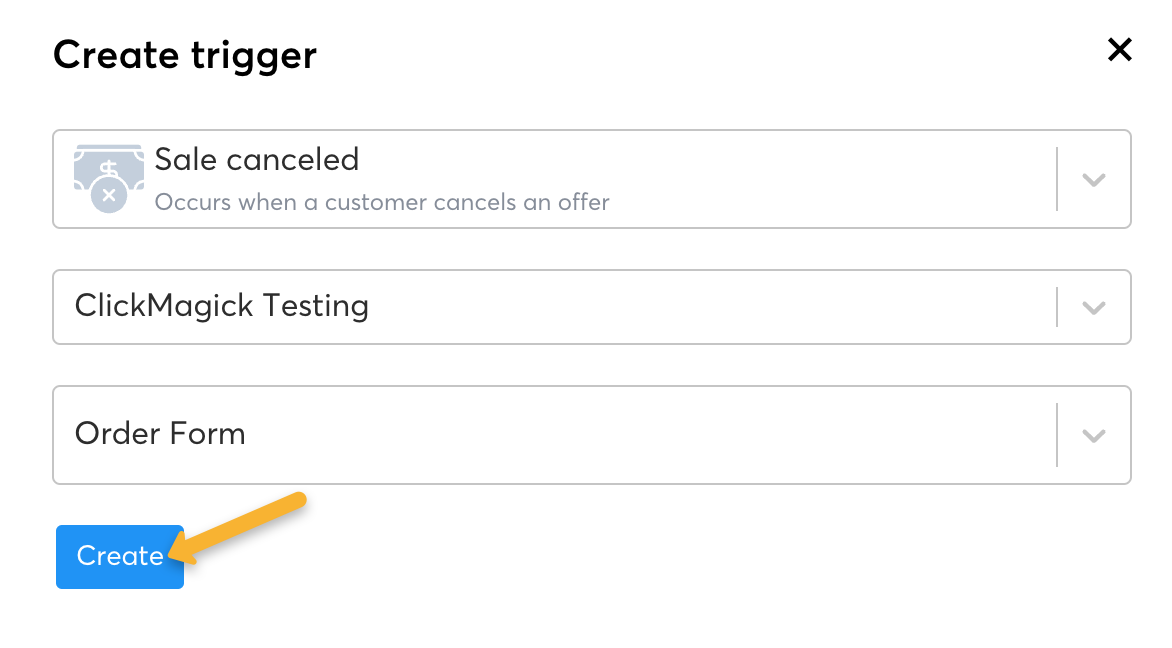
This time, we’re going to choose “Sale canceled” as the trigger. Select the funnel and order form you want to track and hit “Create”.
Note: You will need to add these same triggers for every funnel you want to track in ClickMagick. There will be multiple triggers for each funnel, multiple “New sale” triggers to track sales and upsells and one “Sale canceled” to track refunds. You can add as many triggers as you need in one systeme workflow.
Step 2 – Set up your webhook
Next click the “+’ button below the triggers.
Select “Action”.
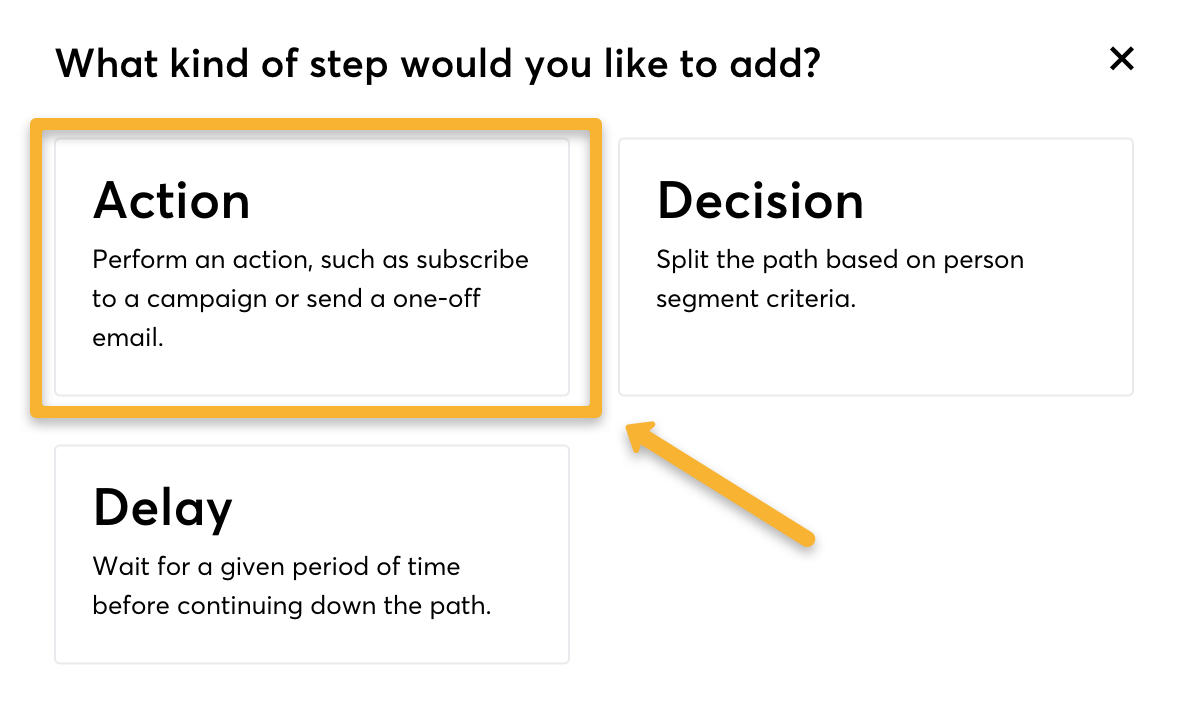
Choose “Send Webhook” as the action and paste in the following webhook:
https://www.clickmagick.com/user/account/integrations/sio/?uid=[USERID]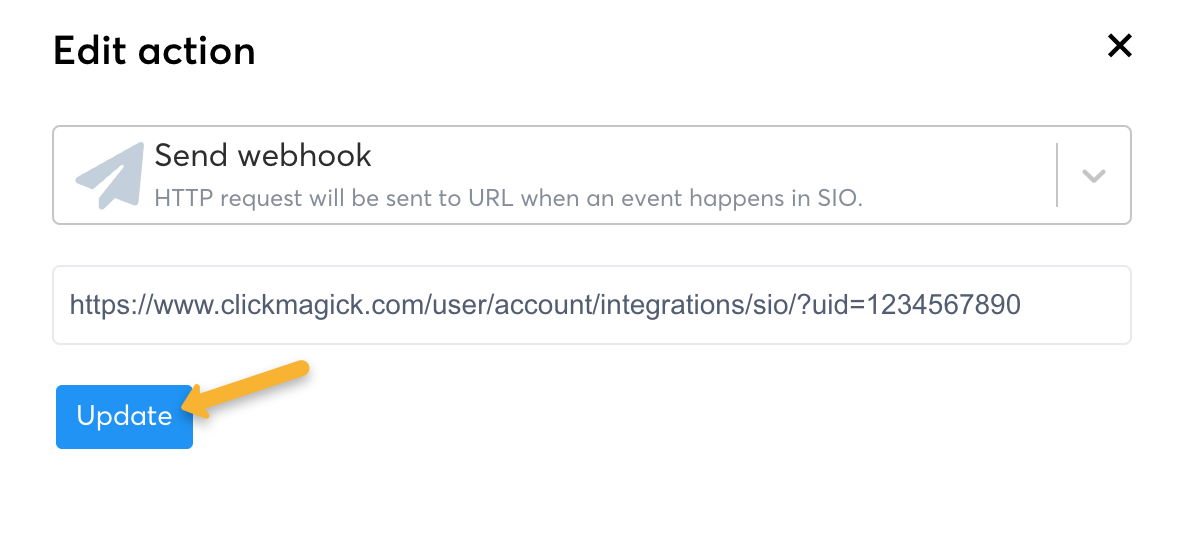
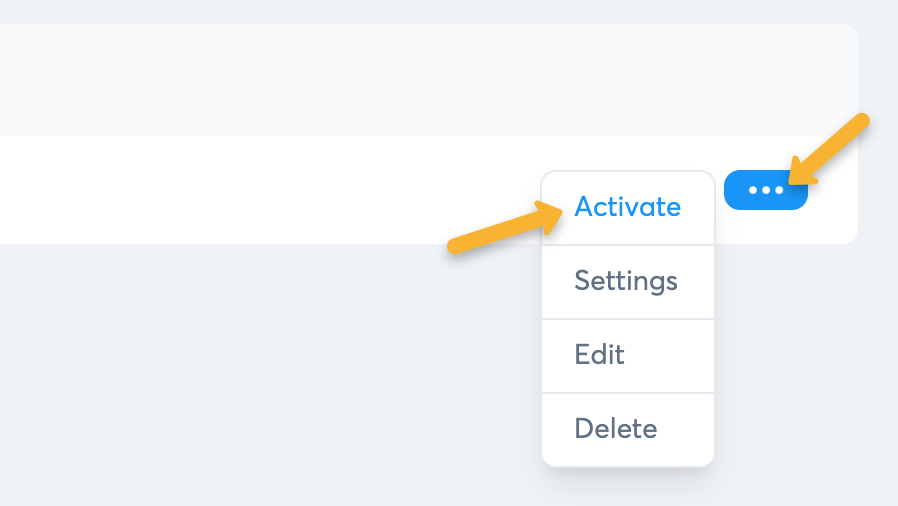
Next, click “Exit” in the top right hand corner. Then, click on the three dots next to your workflow and select “Activate”.
Step 3 – Remap your custom “Ref” values
This will make things like the Funnel Steps report more useful, and it will also allow you to specifically include or exclude certain types of sales when analyzing your stats. Follow the article below to set it up.
How do I set custom “ref” values when using a sales tracking integration?
And that’s it. Once you set this up, ClickMagick will automatically track all of your sales from Systeme.
Please note – Unfortunately systeme does not currently send any data about recurring sales, so if you have those too we encourage you to reach out to them and ask them to add it. If enough users ask for it, hopefully they will add the necessary functionality for recurring sales.
In the meantime, you should be able to use one of our additional payment processor integrations to track your recurring sales. See the article below, and ignore the note at the top to disregard the article if you’re using an integration:
How do I track my recurring revenue with ClickMagick?
Note: We always process conversion data immediately, but please note there can be a delay between when a conversion occurs and when systeme sends it to ClickMagick. It’s usually just a few minutes, but we have no control over it. Most notably, we’ve noticed that refunds can take up to an hour or more.
Article 947 Last updated: 08/10/2025 11:21:04 PM
https://www.clickmagick.com/kb/?article=947