|
How do I set up Audience Optimization for LinkedIn Ads?
This guide will walk you through setting up Audience Optimization for LinkedIn Ads step by step. If you haven’t already, please read the short article below first so you understand the general strategy:
Unlock Better Ad Optimization with Audience Optimization
Step 1 – Review your existing LinkedIn Insight Tag configuration
Audience Optimization will send all your accurate conversion data to LinkedIn. So the first step is to review your existing setup and make sure your LinkedIn Insight Tag is not generating any conversion events, as this will pollute your data.
Review your Insight Tag setup in GTM, plugins, Shopify apps, WordPress add-ons, or any manually added tracking code.
If you previously added any LinkedIn conversion pixels or allowed Insight Tag to auto-track conversion events, remove or disable those now so your Insight Tag only sends basic page load signals and no conversion events from the browser.
Step 2 – Create One or More New LinkedIn Conversion Rules
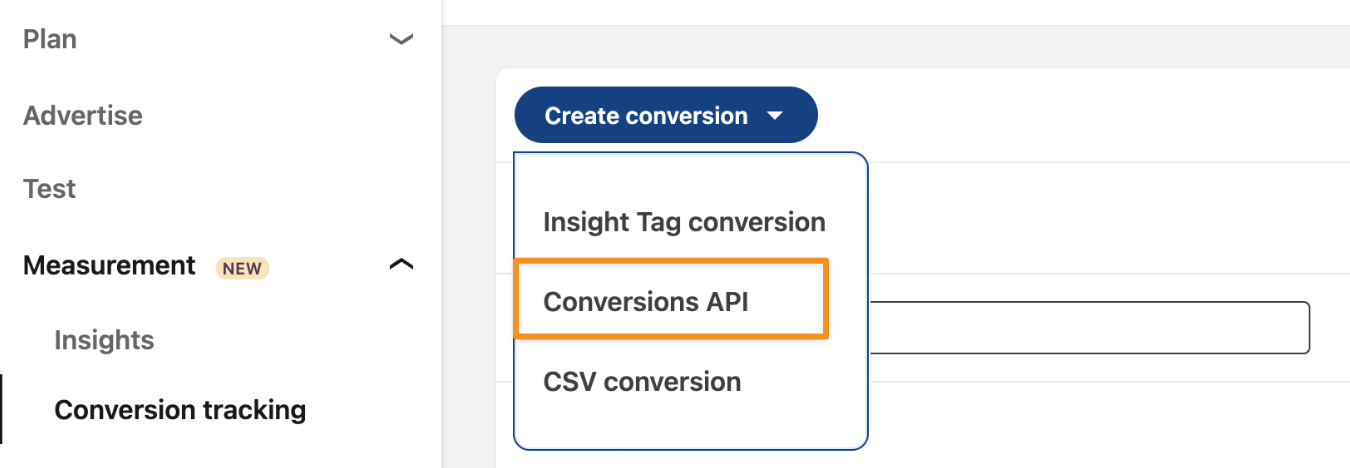
Go to Measurement, Conversion tracking, click on the Create conversion button and select Conversion API.
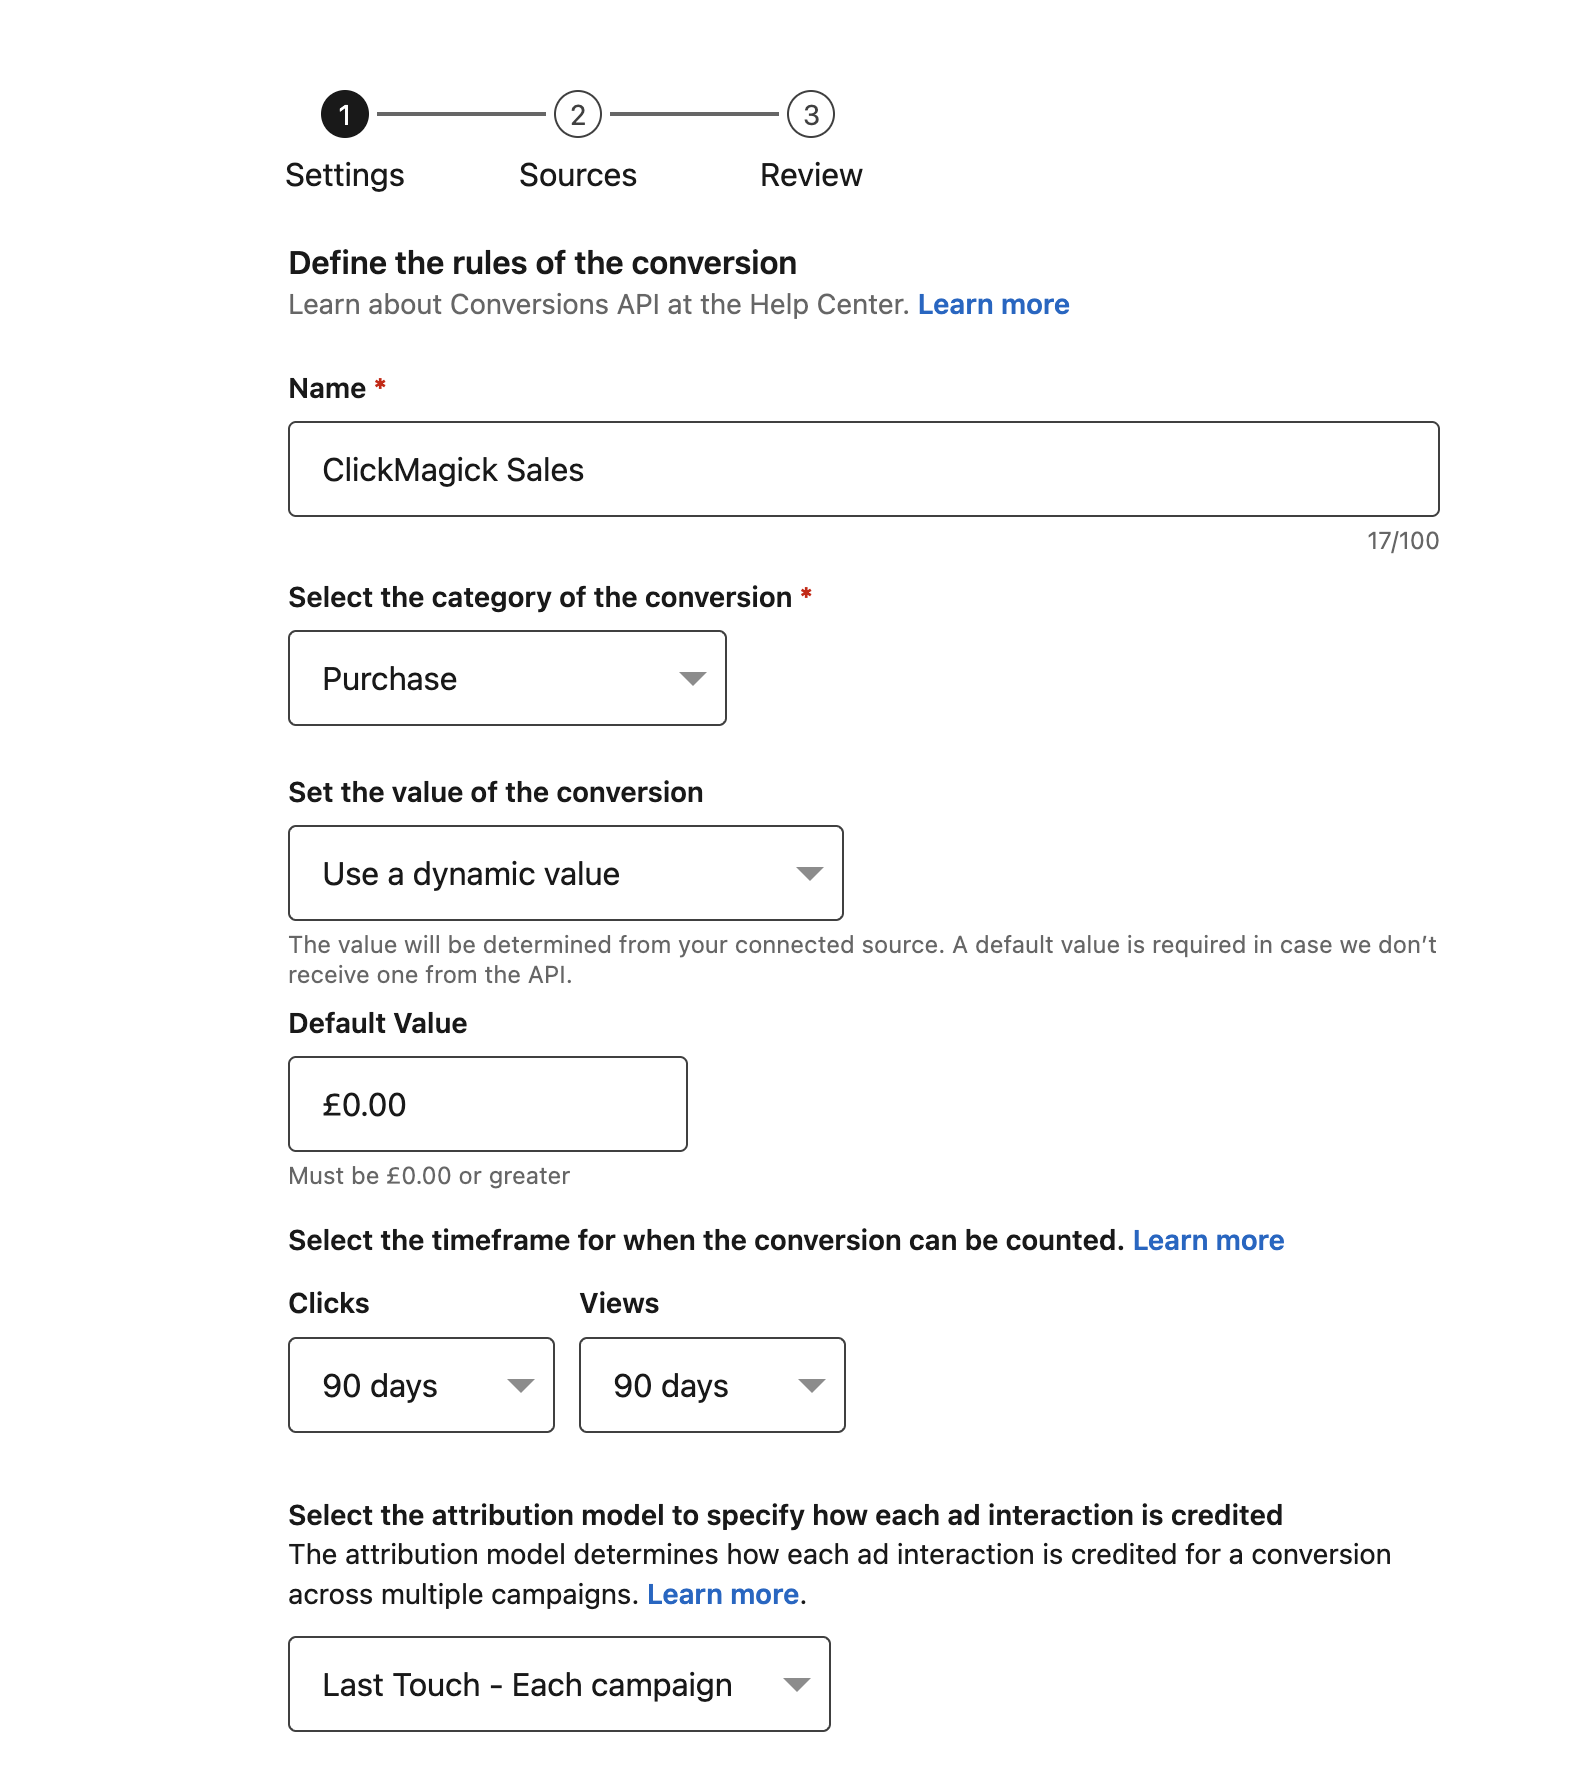
Name the conversion however you see fit and select a category.
Then, select Direct API as the data source.
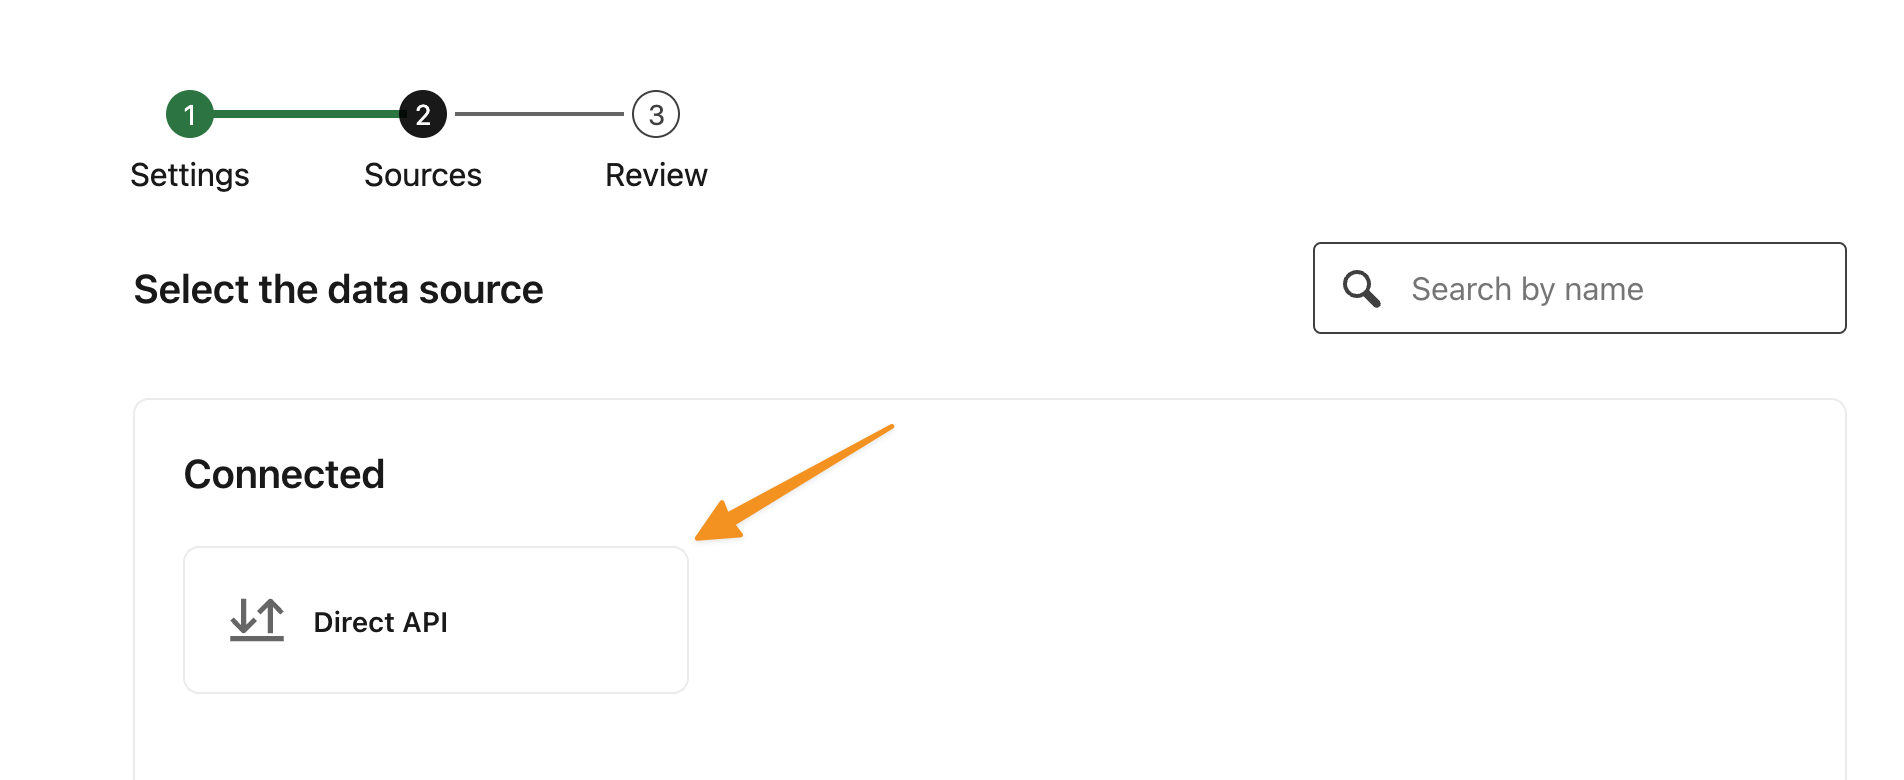
Click on the “Create” button to finish setting up your Conversion Rule.
If you want to optimize for more than one type of conversion, such as Leads, Sales, or other actions, you can create separate LinkedIn Conversion Rules for each one.
Note: Your new conversion will show as “Unverified” in LinkedIn, but that will change when you send your first conversion to it.
Step 3 - Integrate your LinkedIn account with ClickMagick
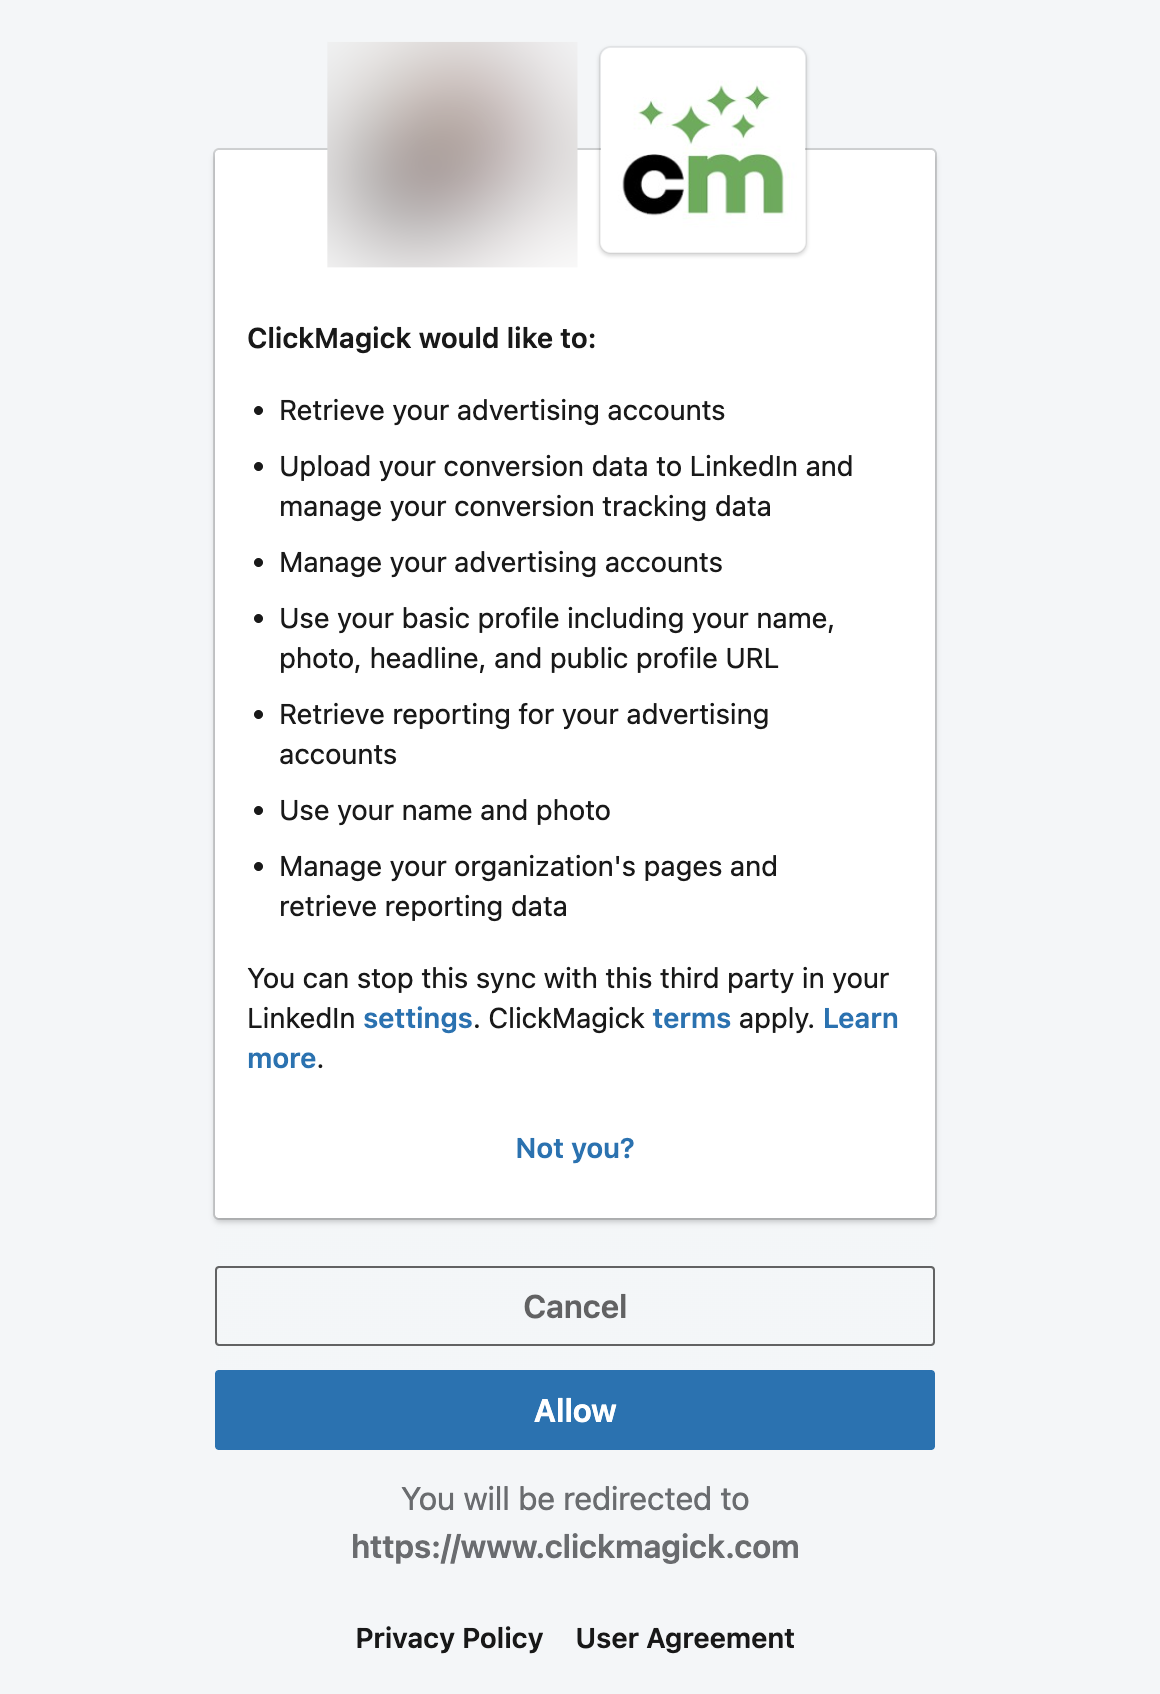
You can integrate your LinkedIn account from the Integrations page, available under the Account menu at the top of any page. Once there, click on “Sign In With LinkedIn” and sign in to the LinkedIn account that contains your ad accounts.
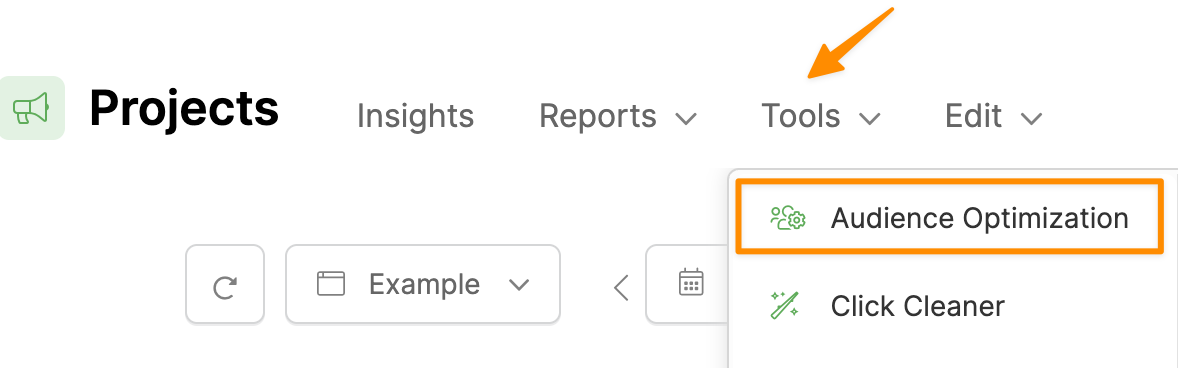
Next, starting on your Project Dashboard, select Tools, and then Audience Optimization:
Select the LinkedIn Ads tab, switch Enabled to “Yes,” and the Default Conversion Action window will pop up (if this is the first time configuring the automatic configuration):
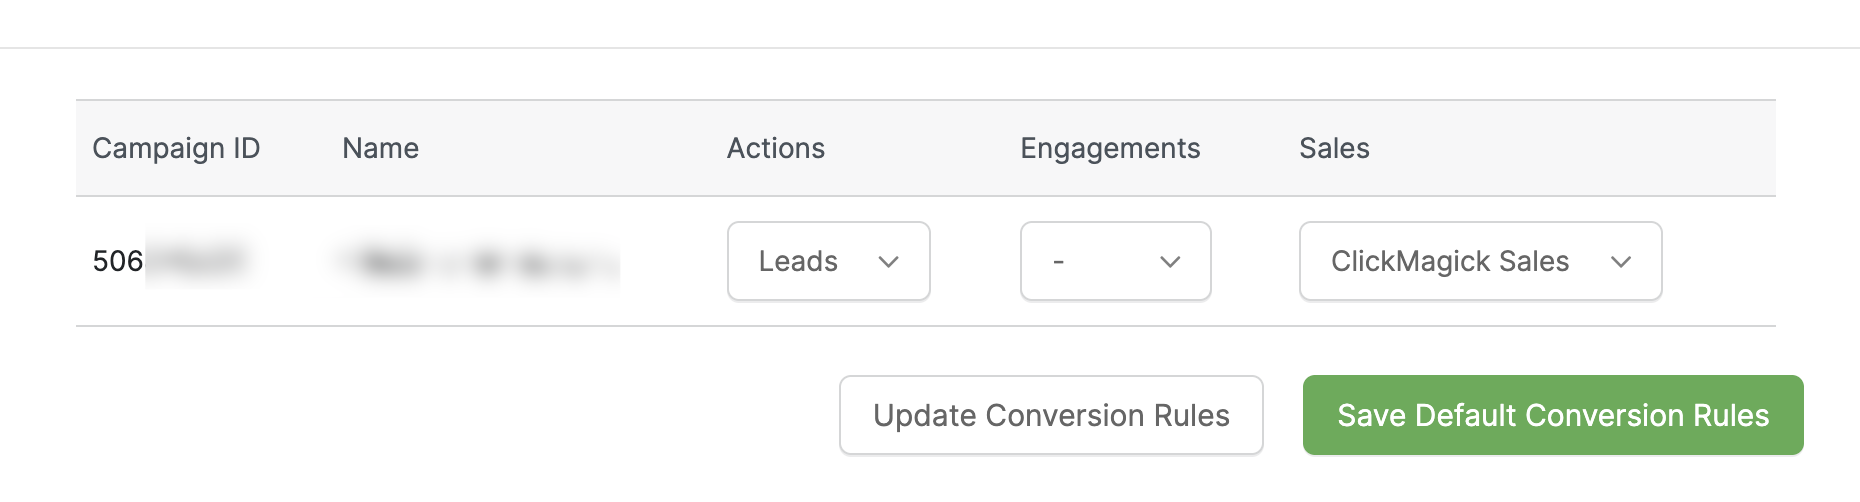
Most users generally want to optimize for Sales, so if that’s the case, select the Conversion Action you want in the Sales column, hit Save, and that’s all there is to it.
But know that you can also separately create and optimize for other things like Opt-Ins. If you do, select the appropriate Conversion Rules for ClickMagick Actions and/or Engagements as well.
The Default Conversion Rules allow you to specify a single Conversion Rule for each of Actions, Engagements and Sales within a single Project.
If you need to do something more advanced you’ll want to set up Advanced Rules, which you can learn about below:
How do I set up Advanced Rules for Audience Optimization?
Step 4 – Enable enhanced conversion tracking
To help with ad optimization, you’ll want ClickMagick to send as much data about your conversions as possible.
So if you haven’t already, follow the steps in this article to allow ClickMagick to capture visitor info:
How do I capture visitor info from forms on my site in ClickMagick?
Once you’ve done that, just enable Enhanced Conversions in LinkedIn by following these steps:
In your LinkedIn dashboard, click on “Data” and then “Signal manager”:
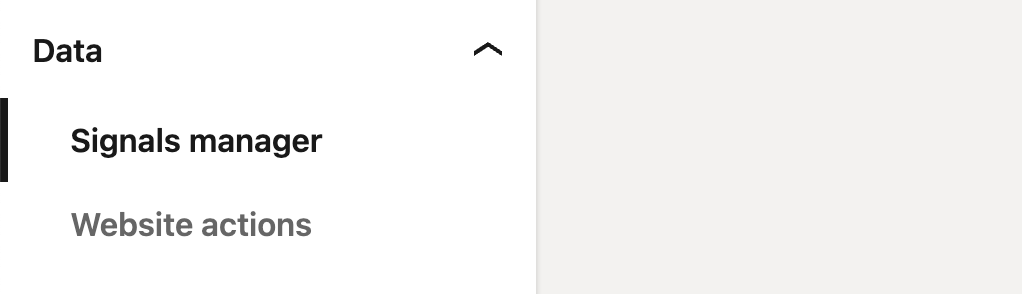
You will see 2 sources. The “Direct API” you created earlier and “Insight Tag” which you should select.

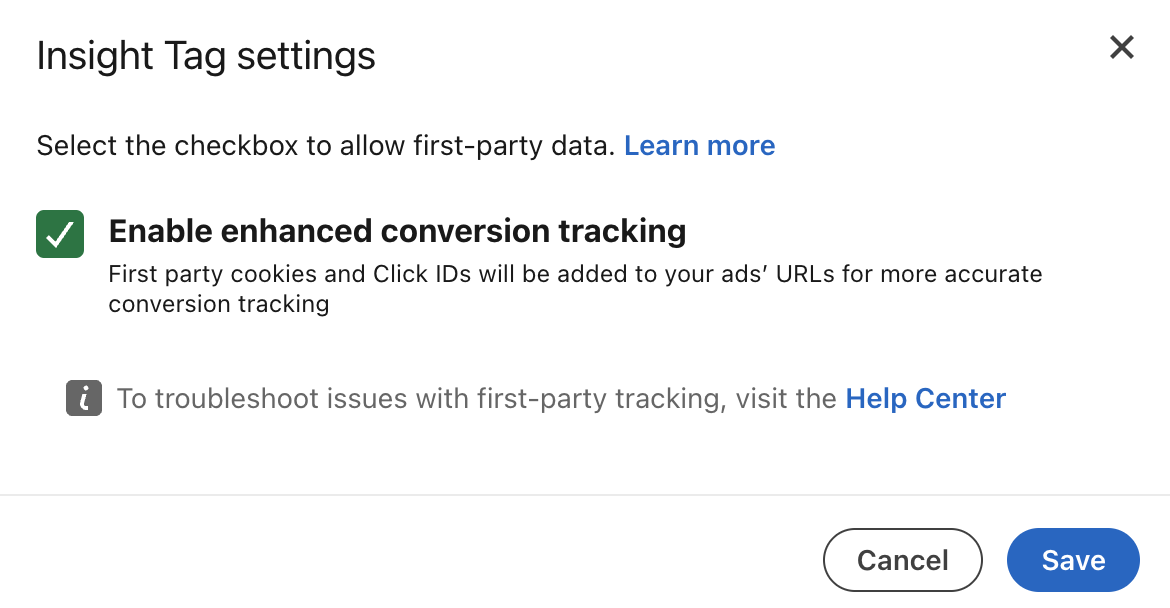
Then, click on “Manage Insight Tag” and make sure “Enable enhanced conversions tracking” is on.
Once you've set this all up, ClickMagick will automatically capture visitor info from your website or online store, and send it along with your conversion data back to your LinkedIn Ads account.
At this point you will literally get the best event matching and ad optimization that LinkedIn Ads is capable of, using their recommended partner integration method for the Conversions API.
Step 5 – Verify things are working correctly
In Audience Optimization, there’s a detailed log that you can use to verify things are working properly.
Once the log shows that conversions have been sent to LinkedIn successfully, wait a bit then check your new Conversion Rules in LinkedIn Campaign Manager to make sure they are receiving data from ClickMagick.
Use the LinkedIn Insight Tag Chrome Extension or your browser’s developer tools to confirm that your Insight Tag is not firing any conversion events from the browser and is only loading normally on each page.
Finally, in Campaign Manager, verify that your new Conversion Rules are receiving events marked as coming from the API and that no unexpected browser-side conversion events are appearing.
Please note that while we send your conversions to LinkedIn in real-time, things are not real-time on their end and it can take anywhere from 15 minutes to several hours for things to be visible on their end.
Article 1035 Last updated: 11/27/2025 9:31:32 AM
https://www.clickmagick.com/kb/?article=1035