|
How do I set up the ClickFunnels sales tracking integration?
The ClickFunnels sales tracking integration allows ClickMagick to track all of your ClickFunnels sales, upsells and refunds without the need for traditional sales tracking code on your webpages.
If you’re following the step-by-step “getting started” guide you should have already set up your click tracking, but if not, please make sure you do that first. You can’t track sales without first tracking your visitors’ clicks.
Caution: This integration replaces, and is incompatible with, any existing sales tracking code you have added to your webpages or store.
If you’re currently tracking sales with the standard sales tracking code, be sure to remove it before setting up this integration or your sales won’t track properly.
If you’re currently tracking sales with the standard sales tracking code, be sure to remove it before setting up this integration or your sales won’t track properly.
Step 1 – Add a new webhook to your funnel
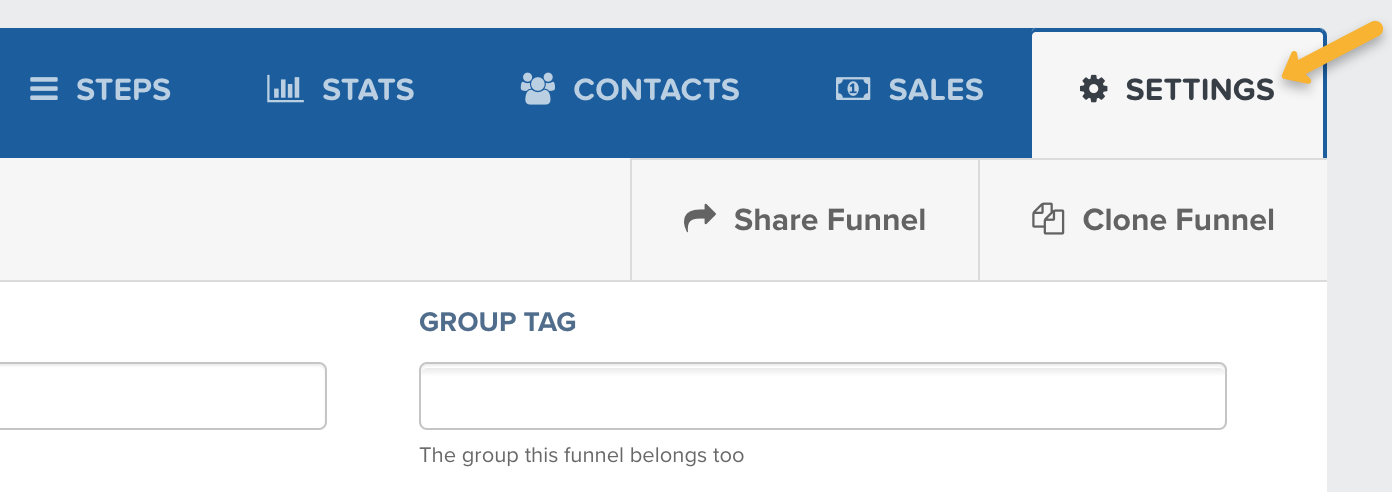
In ClickFunnels, select the funnel you want to track, then go to Settings.
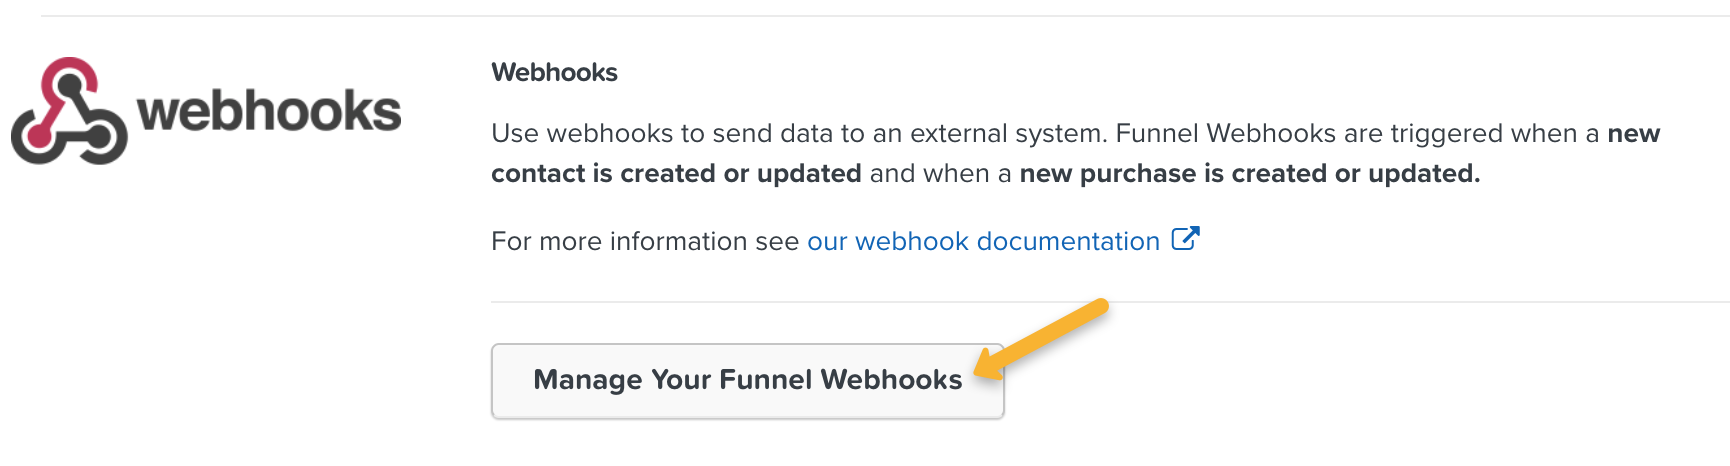
Scroll down to Webhooks, then click on “Manage Your Funnel Webhooks”.
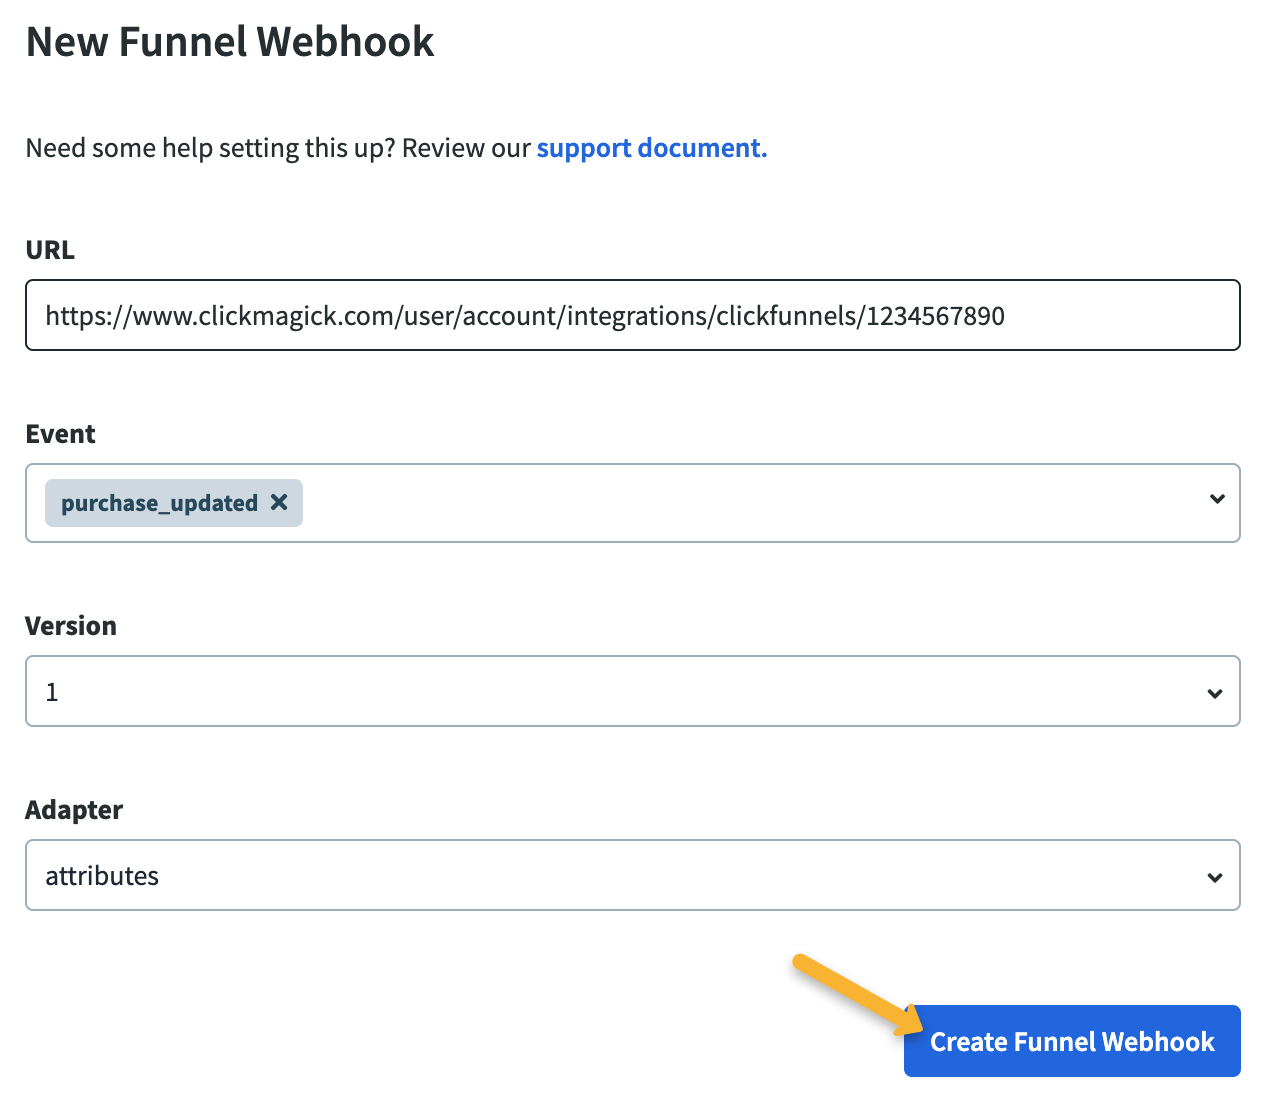
Click on “+ New Webhook”, then enter the following details:
| URL: | https://www.clickmagick.com/user/account/integrations/clickfunnels/[USERID] |
| Event: | purchase_updated |
| Version: | 1 |
| Adapter: | attributes |
Step 2 – Remap your custom “Ref” values
This will make things like the Funnel Steps report more useful, and it will also allow you to specifically include or exclude certain types of sales when analyzing your stats. Follow the article below to set it up.
How do I set custom “ref” values when using a sales tracking integration?
And that’s it. Once you set this up, ClickMagick will automatically track all of your sales from ClickFunnels.
Step 1 – Rename your Upsells in ClickFunnels 2.0
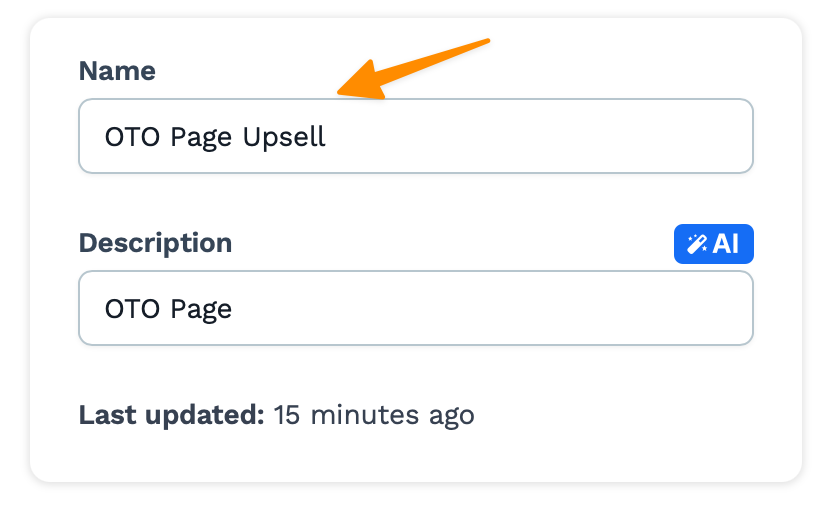
Because of a limitation with ClickFunnels 2.0 webhooks and the way they send your data to ClickMagick, you must ensure that the name of your upsell(s) pages in ClickFunnels 2.0 contains the word “upsell”.
For example, if your upsell page was named “Extra Template Pack”, you could rename it to “Extra Template Pack Upsell”.
This needs to be done on the “Template” level and not on each page individually.
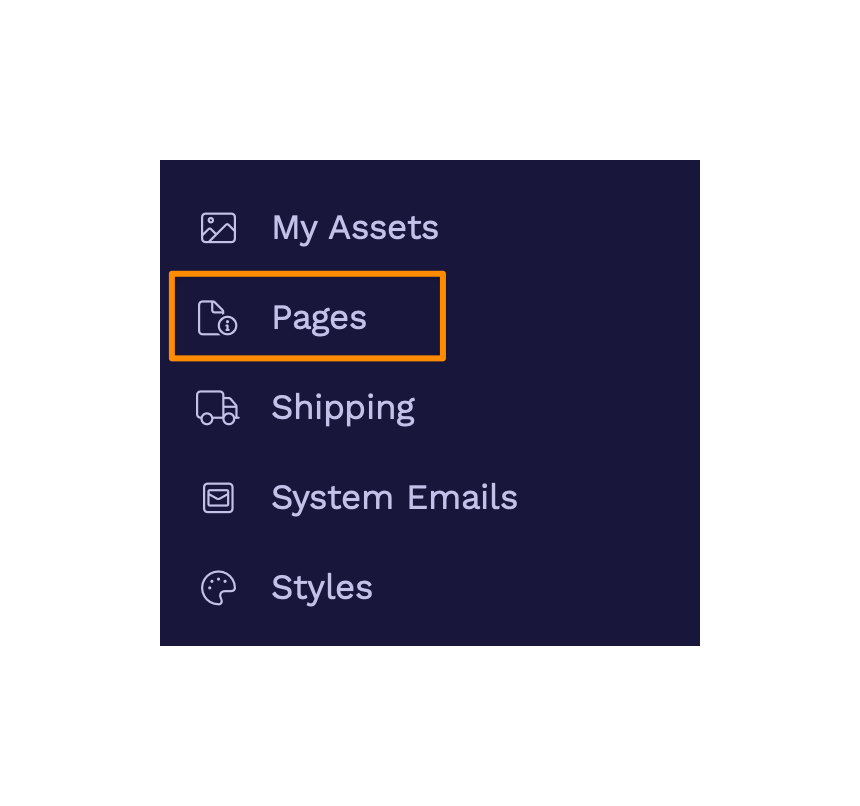
Go to your “Workspace settings” and select “Pages” from the menu on the left.
Locate the upsell page you want to modify and click on “Edit”. Then, add the word Upsell to the name of the page.
Step 2 – Set up the ClickFunnels 2.0 Integration for Sales Tracking
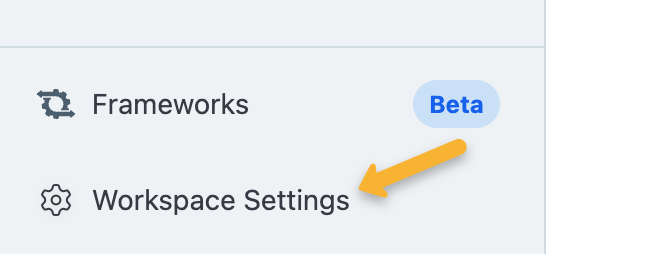
In ClickFunnels 2.0, go to Workspace Settings.
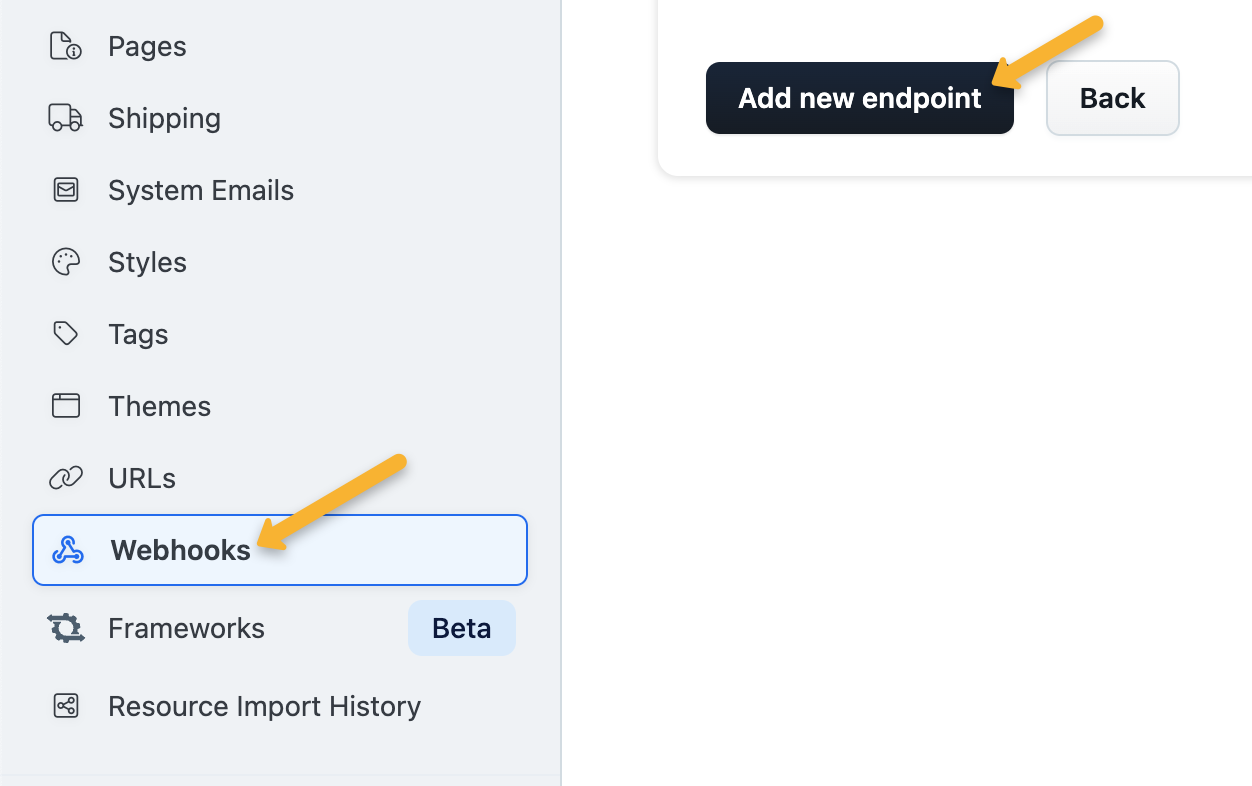
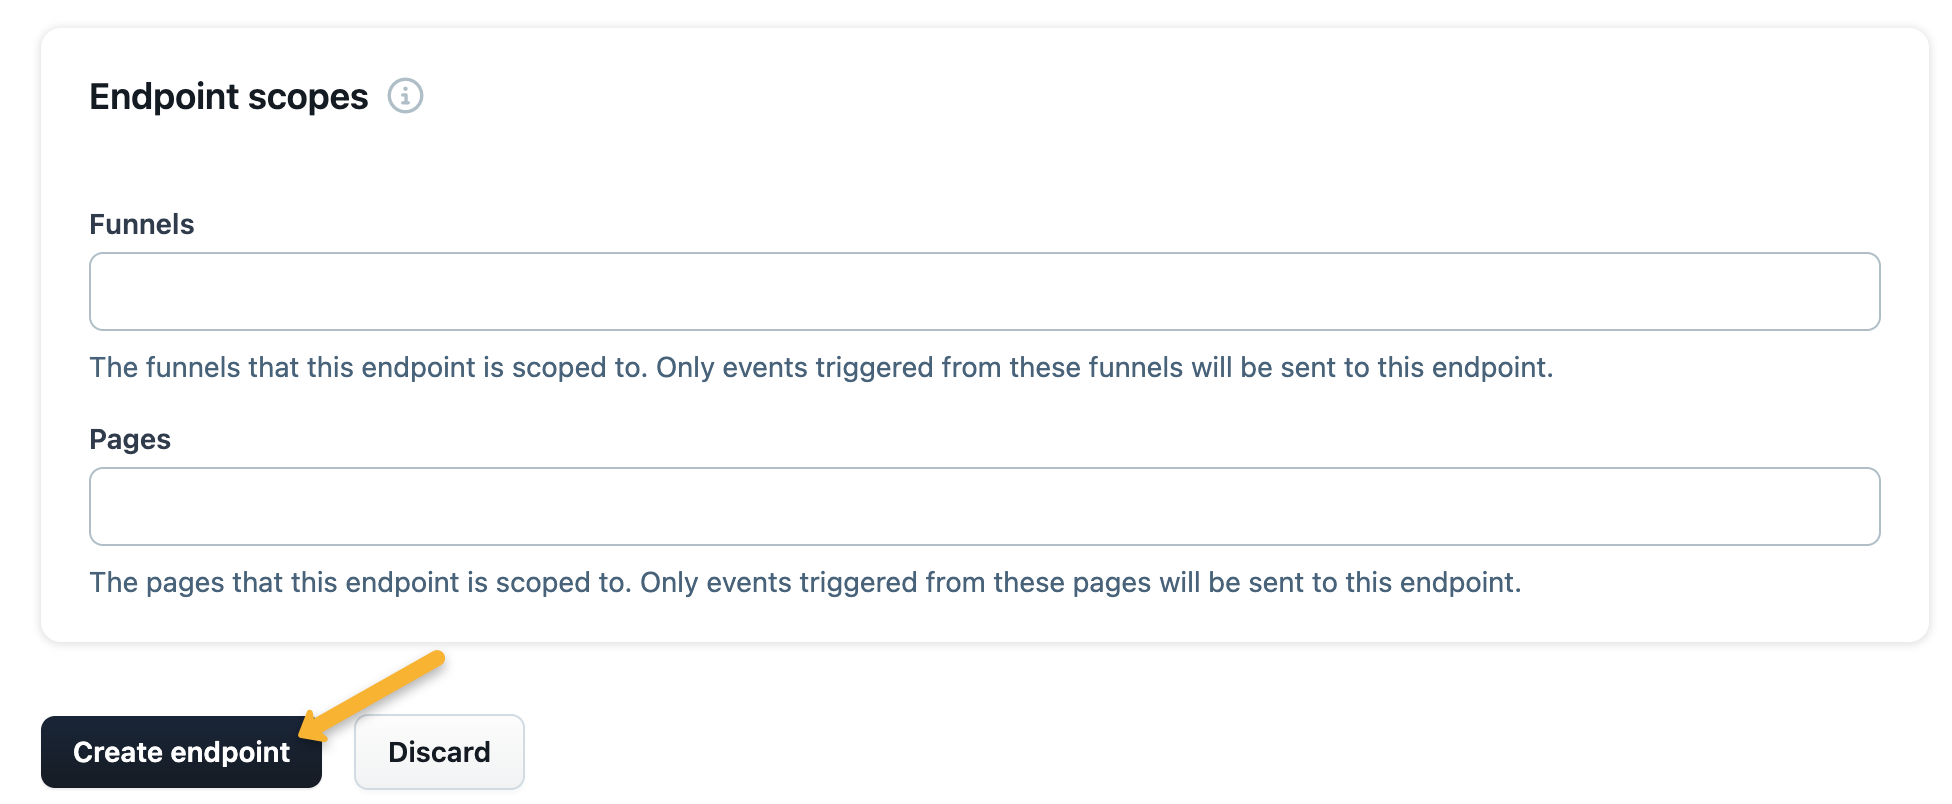
Click on “Webhooks”, then click on “Add new endpoint”.
Enter the following details:
| Name: | ClickMagick Sales Webhook |
| URL: | https://www.clickmagick.com/user/account/integrations/clickfunnels/[USERID] |
| Event types: | order.updated |
| API Version: | V2 |
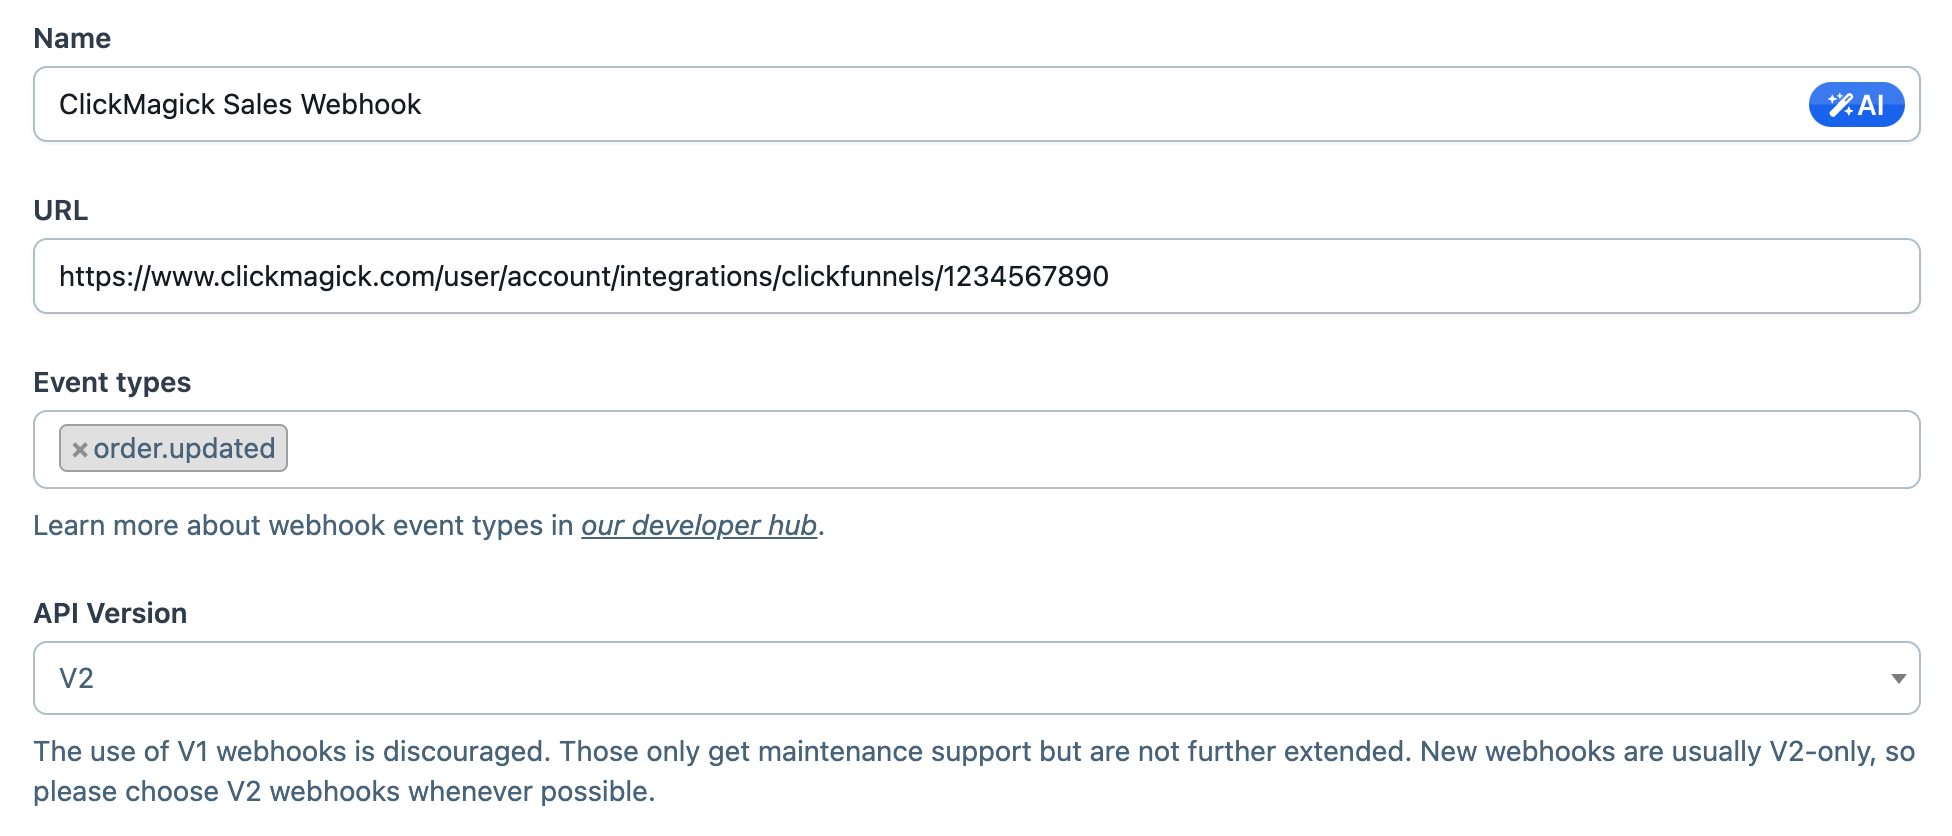
You can leave “Funnels” and “Pages” under “Endpoint scopes” empty. This will process sales for all your funnels and pages automatically.
And that’s it. Once you set this up, ClickMagick will automatically track all of your sales from ClickFunnels.
Step 3 – Remap your custom “Ref” values
This will make things like the Funnel Steps report more useful, and it will also allow you to specifically include or exclude certain types of sales when analyzing your stats. Follow the article below to set it up.
How do I set custom “ref” values when using a sales tracking integration?
Note: We always process conversion data immediately, but please note there can be a delay between when a conversion occurs and when ClickFunnels sends it to ClickMagick. It’s usually just a few minutes, but we have no control over it.
Article 940 Last updated: 12/01/2025 12:59:57 AM
https://www.clickmagick.com/kb/?article=940